Do you faithfully remember to take your vehicle to your local auto repair shop for a check-up at least once every six months? Do you ensure that it heads there at the first sign of trouble, to prevent further damage and ensure things remain ship-shape for as long as possible?
The chances are you do, as most of us understand how much we rely on our vehicles. But do you give your car’s interior as much care as you do its exterior?
If you’re like most of us with busy schedules, it is extremely hard to find the time to run a vacuum over the interior, let alone actually do some car detailing properly. It does then tend to become a dumping ground for all sorts of things and occasionally even a sort of treasure-trove for junk collectors.
But it does not have to be that hard to give the interior of your car a good clean, and once you have done it once maintaining this new, neat state of affairs should not be so hard. Here are some basic pointers to get you started.
Getting Started
Park your car in a cool, shaded spot as some cleaners can get ‘baked’ to a car’s upholstery in direct sunlight, which will dry out the natural oils in any leather. Head out with a good stock of cotton, terry cloth towels for applying and removing detail products.
The first task – cleaning out all that crud, can be the hardest. Have a big garbage bag on hand and you may even want to don a pair of rubber gloves in case you come across something really nasty. On the upside, the chances are that you will find at least $5 in change if you do a good clearing out job.
With all of the bigger mess out of the way, step back and really take a good look at the state of your car’s interior now. Are you going to have to tackle just a bit of dust and a few stains or are there nastier food/pet/kid related stains and odors to be dealt with? Assess the damage and then get ready to start cleaning.
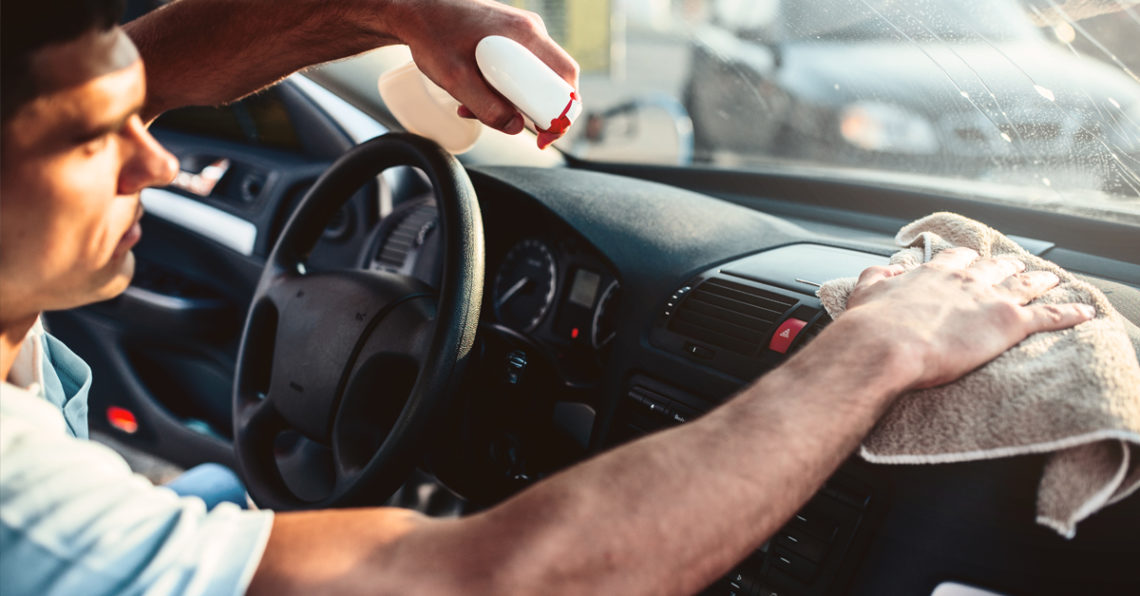
Attach a soft brush attachment to your vacuum and, using a gentle ‘stroking’ motion go over the dash, headliner, gauges, and console. After vacuuming, wipe the whole area down with a damp cloth, using a circular motion to remove additional surface dirt before you get down to some deeper cleaning.
Tackling the Tougher Stuff
The chances are also good that the cupholders in your car actually see more mileage than the tires and get just as grimy. If you tend to sip on a soda when driving, you probably have at least some gloopy residue to try and cut through. To do so mix up a batch of baking soda and water in a 1:4 ratio. Spray the cupholder liberally (but don’t soak it) and then allow the mixture to soak in before wiping with a terry cloth towel. After the goop is gone, wipe the cupholder with a damp terry towel and then dry off.
Next, direct your attention to the front seats, the package tray and rear seats, using the same technique as before to take the bulk of the dust and dirt off. To reach the nooks and crannies in and around the seats, console and transmission tunnel, attach the crevice tool and have at it.
Hopefully, your floor mats take the brunt of the punishment and the carpet beneath them is in pretty good shape. Vacuum the mats well with the carpet-comb attachment and then remove them from the car.
Now for the carpet itself. Using the carpet-comb tool, vacuum as much dirt and stuff as you can. If there are stains on the carpet and floor mats are that are relatively small or light, a “spray, scrub and vacuum” product such as 3M Scotchgard Carpet Cleaner will more than likely do the trick nicely. If not, you may have to invest in renting a carpet cleaner instead.
Now it is time to turn your attention to cleaning the dash and seating surfaces. If your vehicle has leather upholstery, opt for a quality leather cleaner such as Lexol-ph Leather Cleaner or Mothers Leather Cleaner. Use separate cleaners and conditioners, rather than an all-in-one product, as this allows for better deep cleaning and the best possible protection for the leather.
Leather cleaners generally come in two forms: spray and liquid paste. The spray types are usually a spray-on, wipe-off affair. Liquids have to be “massaged” into the leather to be effective. In either case, follow the manufacturer’s directions for proper application. After cleaning, you’ll need to condition the leather and dash in order to restore the natural oils and retain its original suppleness and deter aging.
Cloth seats have become more and more resistant to staining, thanks in part to new formulations in fabric treatment, which were originally developed by the 3M company in the 1980s. The use of “Scotchgarding” (the correct term for 3M’s Scotchgard product) adds a barrier to help repel water and oil-based contaminants from staining cloth and velour fabrics. Therefore, cleaning a stain-resistant cloth interior is relatively easy, compared to cleaning a leather interior. Nearly all cleaning products for cloth interiors are produced as an “all-in-one” cleaner and protectant, in spray, scrub and wipe/vacuum forms, such as 3M Scotchgard Cleaner and Protector.
Finally, it is time to pay a little attention to the windows. There are lots of window cleaning products out there, but good old-fashioned Windex is still a great choice but if you have tinted windows stick to distilled water only as the ammonia in Windex can create little ‘pits’ in the film.
Visit our Contact Us page to find out how and where to reach us.
We can also give you a free online estimate. Click here to give us the details of your car repair needs.
We work with all insurance companies and we can guarantee the quality of our work every time.


